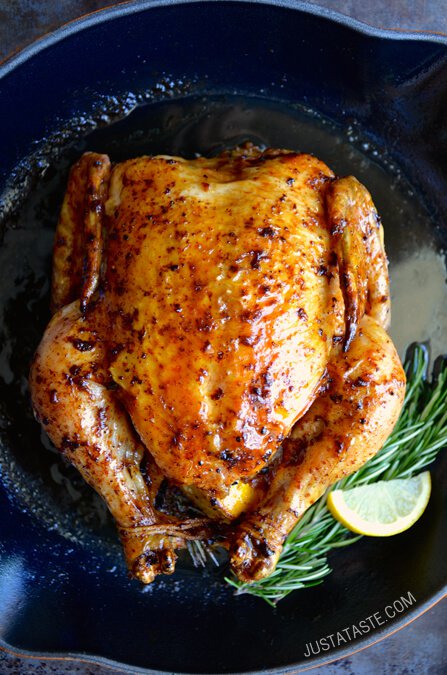
Simple Roast Chicken with Garlic and Lemon
Simple Roast Chicken with Garlic and Lemon
Prep time
Cook time
Total time
As simple as a roast chicken is to prepare, there are some definite Do’s and Don’ts when it comes to poultry perfection. See Notes Below!
Author: Reposted from Just a Taste – Kelly Senyei
Serves: 2 to 4
Ingredients
- 1 (4 to 5 lb) chicken
- 4 tbsp unsalted butter
- 4 large cloves garlic, minced
- 1 lemon, halved
- 3 sprigs fresh rosemary
Instructions
- Preheat the oven to 450ºF with rack in
center . - Remove the giblets from the chicken then trim the excess fat from around the chicken cavity then rinse and thoroughly dry the chicken. (The drier the chicken, the crispier the skin.) Place the chicken in a roasting pan, baking dish or cast iron skillet.
- Melt the butter with the garlic in a small saucepan over medium-low heat. Brush the melted garlic butter all over the chicken. Season the chicken liberally all over (including inside the cavity) with salt and pepper. Place the two lemon halves and the sprigs of rosemary inside the cavity.
- Tie the legs together with kitchen twine. (Keep it simple with a loop around each leg and knotted in the
center .) - Roast the chicken for about 1 hour, basting it every 15 minutes by using a spoon and tilting the pan to collect the juices then spooning them atop the chicken, until the internal temperature reaches 165ºF. (When testing the temperature with a meat thermometer, insert it into the breast but do not touch the bone for the most accurate reading.) Rotate the pan after every time you baste the chicken to guarantee even cooking.
- Remove the chicken from the oven and transfer it to a cutting board. Allow the chicken to rest for 10 minutes before slicing and serving.
- Kelly's Note:
- It's important to baste the chicken every 15 minutes so that the minced garlic stays moist and doesn't burn. If you don't want to baste the chicken as frequently, simply smash the cloves of garlic (rather than mince them) and place them inside the cavity of the chicken then baste the chicken two to three times while it's roasting.
- The total cooking time will depend on a variety of factors, including the weight of your chicken and how heat circulates within your specific oven.
Notes
DO dry off the skin of the chicken as thoroughly as possible. Extra-dry skin = extra-crispy skin.
DON’T skip the step of tying the chicken legs together. It keeps them closer to the body of the chicken and guarantees more even cooking. If you don’t have kitchen twine, use unflavored (I repeat, unflavored!) dental floss.
DO baste the chicken every 15 to 20 minutes. Basting is the real secret to roast chicken success.
DON’T carve the chicken immediately after removing it from the oven. Just like a roast turkey, it needs time to rest so the juices collect and the chicken remains moist.


